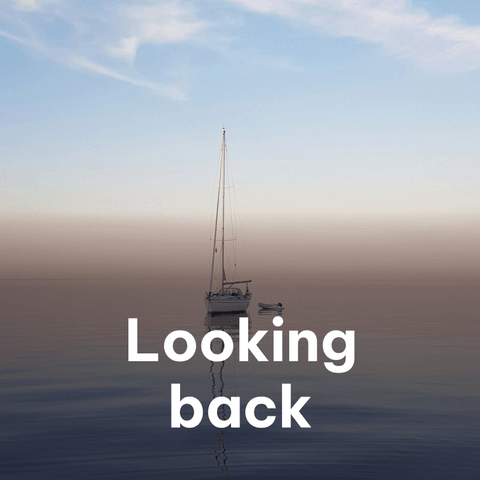
Turning a trip into a travel recap carousel
After a trip, the camera roll is usually full and the post is still unwritten. A little sorting and a clear structure turn hundreds of photos into a recap you will enjoy looking back on.
Sort before you build
Start by making a shortlist. Go through your photos and favorite anything that captures a place, a person or a feeling. Then narrow it down:
- Keep the best of each similar group.
- Look for a mix of wide views, people and small details.
- Include a few short video clips, such as waves, street sounds or a train window.
- Leave out anything you would not want to explain.
A shortlist of 10 to 20 items is a comfortable size for one post.
Choose a structure
A structure makes a recap easy to follow. Pick the one that suits your trip:
- Day by day: one or two slides per day, in order. Great for road trips and short city breaks.
- Place by place: one slide per city, beach or neighborhood.
- By theme: food, views, people, details, each with its own slide or two.
- Highlights only: the ten moments you will remember, in any order that flows well.
For tips on cover slides and endings, see telling a story across slides.
Design the recap
- Cover: your strongest landscape or a moment that sums up the trip, with the destination name.
- Map or context slide: a simple slide with the route or the places visited, written as short text on a background color.
- Main slides: one idea per page. Use a collage layout to group small details together.
- Food slide: almost every trip has one, and it is often a favorite.
- Closing slide: a sunset, a last view from the plane, or a short line like "Until next time".
Short labels such as the place name or day number help people follow along without reading much. A small tip or recommendation, like a favorite viewpoint or a dish worth trying, can turn a personal recap into something friends save for their own trip.
Keep a consistent look
Travel photos are taken in different light and places, so a few constants help the slides feel related. Use one font for labels, the same corner for place names, and one or two background colors pulled from the trip, such as sea blue or desert sand. The travel category in the template gallery has layouts designed for this, and you can replace every photo with your own.
Images or video?
Export the recap as images for a classic swipeable carousel, or as one MP4 if you want clips and sound to play in sequence. Photo-only pages can last 2, 3 or 4 seconds, and video pages last as long as their longest clip. Because the editor keeps your files on your device, it is a good idea to download a backup of the project if you plan to make a second version later.
Quick answers
Can I make one recap for feeds and another for Stories?
Yes. Duplicate the project, change the aspect ratio to 9:16 and adjust crops on each page.
Are my travel photos uploaded anywhere?
No. Photos and videos are processed and stored locally in your browser on that device.